
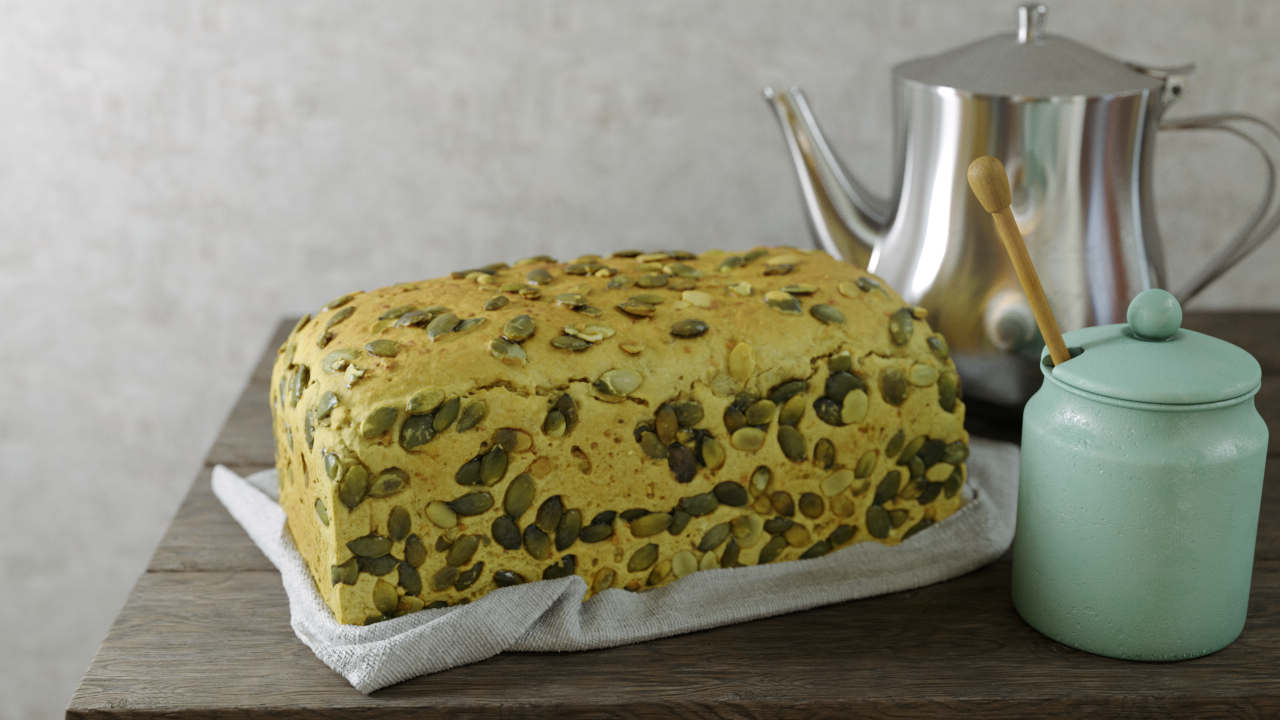
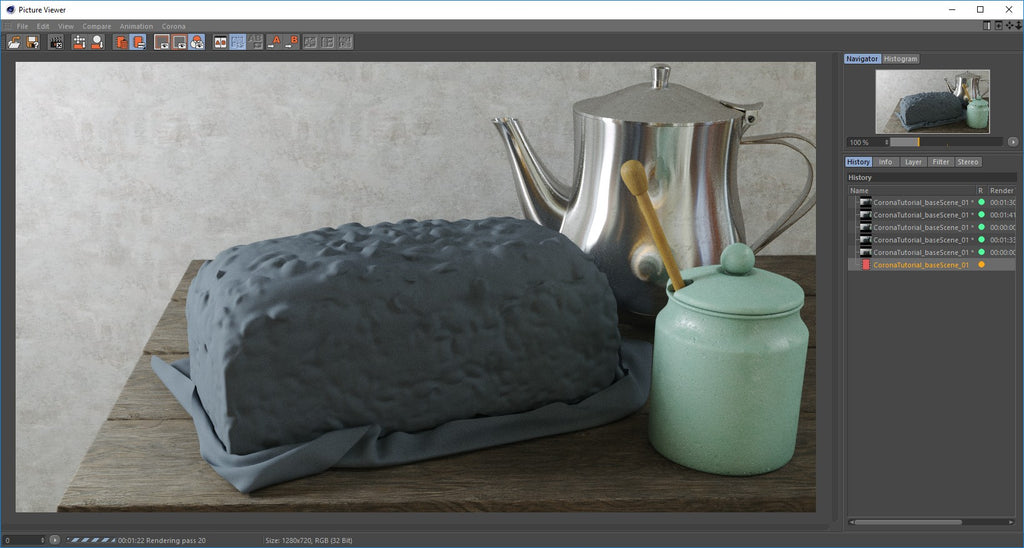
How To Achieve Photorealistic Results in Corona for Cinema 4D
This Tutorial describes how the following image was made. Here you can find the complete scene with and without materials, includes the Bread Scan! https://delivery.shopifyapps.com/-/5018a03e76975167/ee2f5820227c7c5a
The Rough Wood textures come from https://www.textures.com/ and the HDR file from http://www.hdrlabs.com/sibl/ both great sources. Check them out.
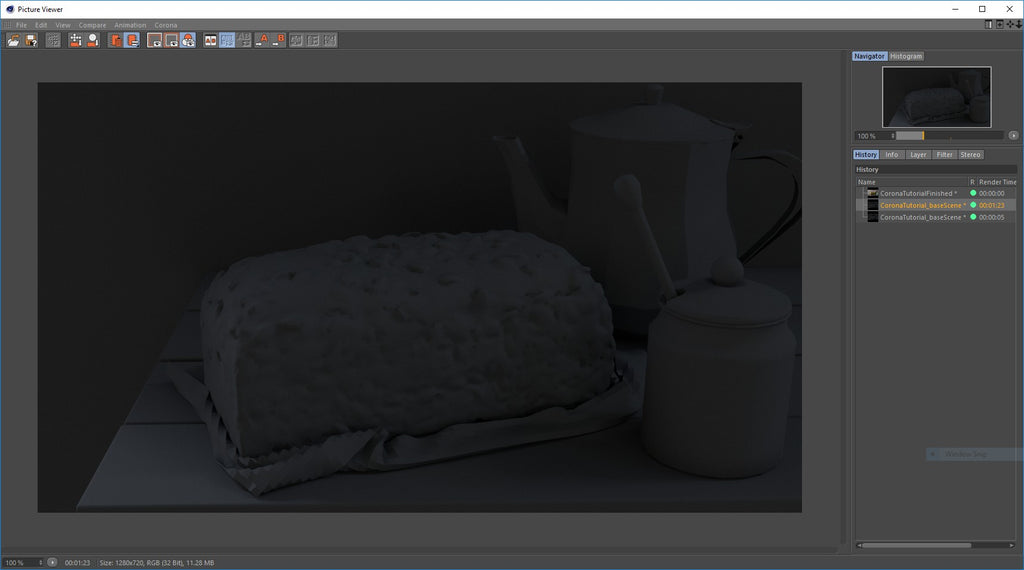
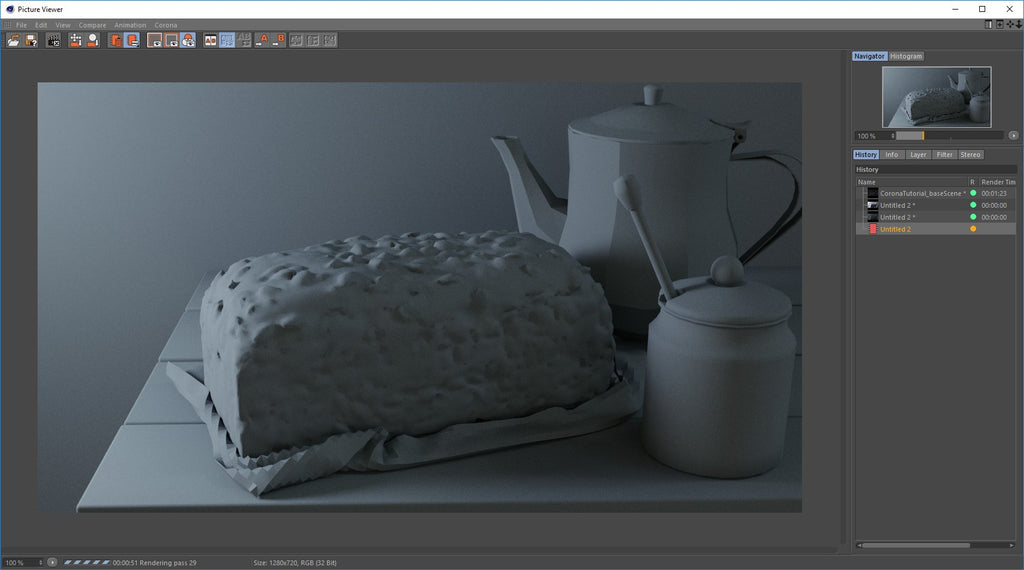
Open CoronaTutorial_baseScene.cd4, It should look like this:

Create a Cinema 4D Material, name it HDRI and apply the vanKleef_04_Ref.hdr texture at Luminance. Only check Luminance.

Add an Sky object to the scene and apply the HDRI Material to it.
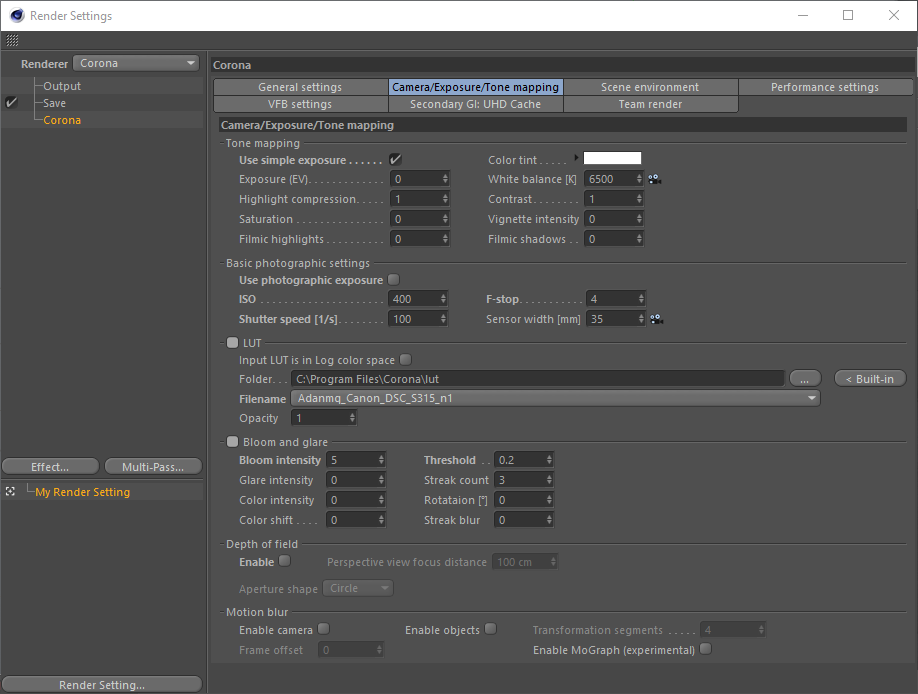
This are the Corona Render Settings, using Simple Exposure as default.
Let’s hit Render and the result should be this one.
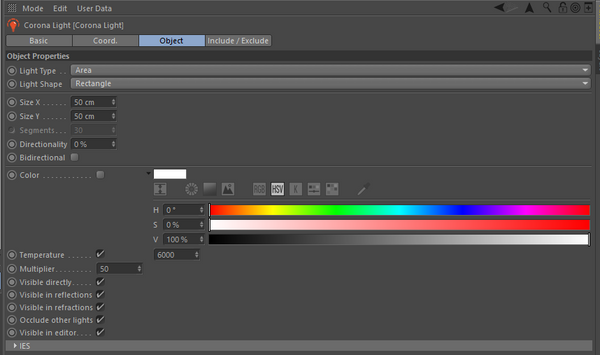
Create a Corona Light and place it on the left side, like this:

Corona Light Settings:
Hit Render again.

Ok, a little too bright for our needs, let’s tune up the Corona Light and Render one more time.

The light looks a bit low, but the shadows and contrast are exactly what we need.

Now is time to tune up the Corona Render Settings.

Hit Render. Just the activating the lut makes quite a difference.
Now, let’s see the Materials:
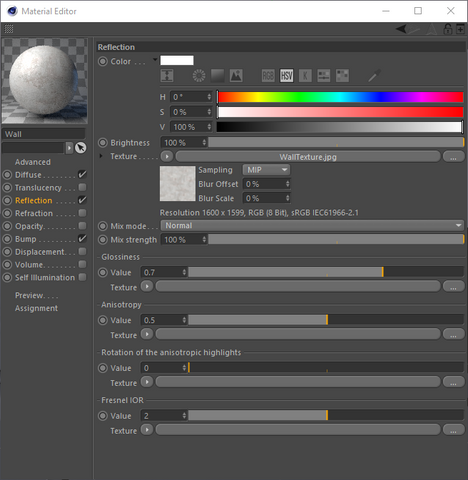
Create a Corona Material, Name it Wall and apply it to the Wall Geometry.
Wall


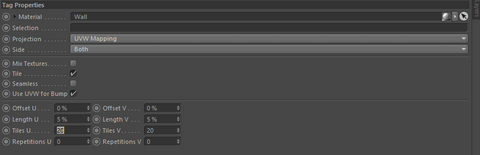
Tile 20 times.
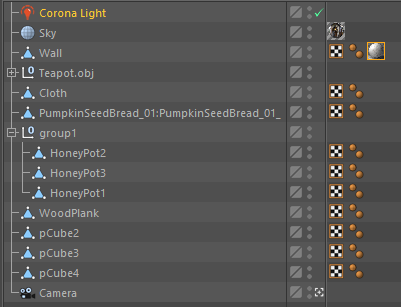
Before we keep going with the materials, add some Subdivision Surface for Teapot.obj, Cloth, PumpkinSeedBread_01 and group1 (Honeypot). Like this:
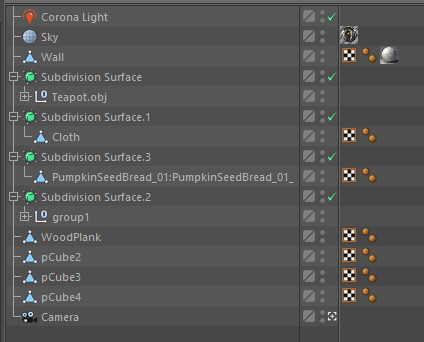
Leave all of them as default except for the one with the PumpkinSeedBread_01 which needs to be changed from Standard to Boundary.

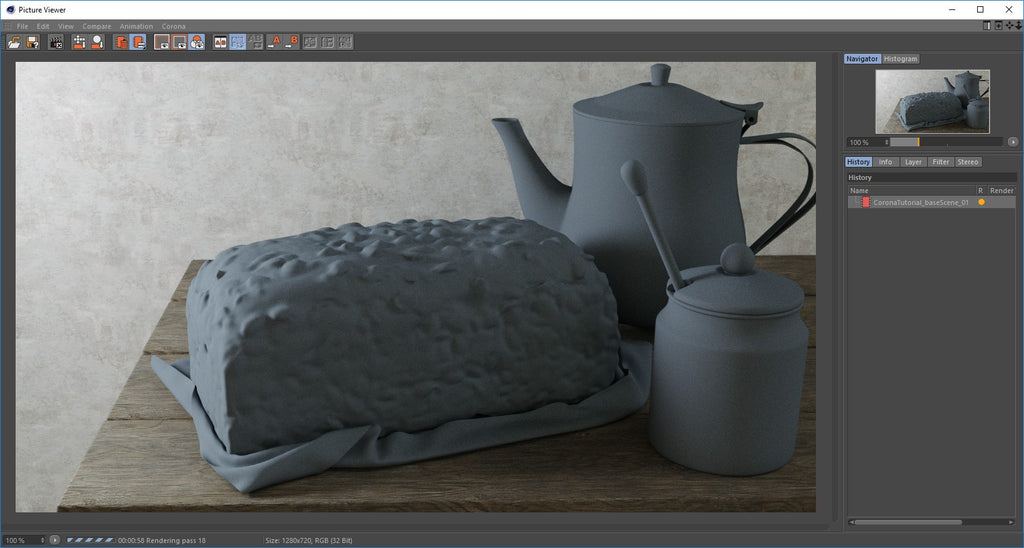
Render Again. Looks quite better.

Create a Corona Material, Name it RoughWood and apply it to the WoodPlanks.
RoughWood
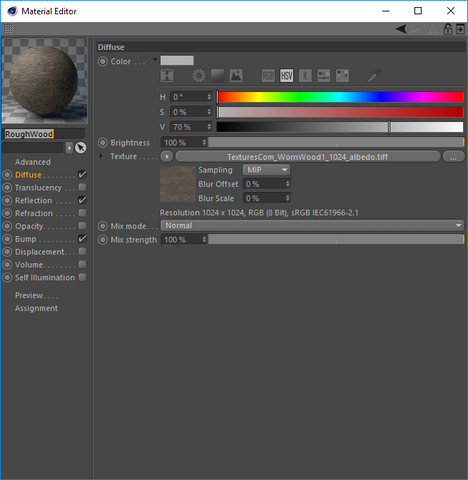


Tile 4 times.

Let’s Render and see what we have until now.
Create a Corona Material, Name it Ceramic and apply it to the HoneyPot1 and HoneyPot2 inside group1.
Ceramic
Apply an Corona AO to the Diffuse to give it a “heavier” look to the Honeypot, use the unoccluded color to colorize your material.


Use the fingerprints.jpg to add some variance to the reflection, apply it both to the reflection and the glossiness. Use the Color profile in linear and for the texture applied to the glossiness set the exposure to -.05


Use concrete.jpg for the bump.

This Is how it should look.

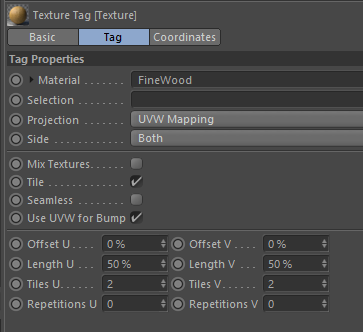
Create a Corona Material, Name it FineWood and apply it to HoneyPot3 inside group1.

FineWood

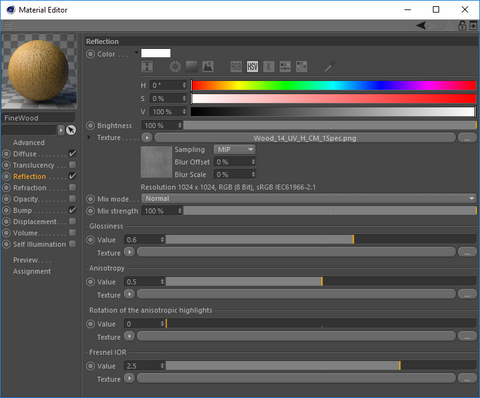

Tile 2 times.

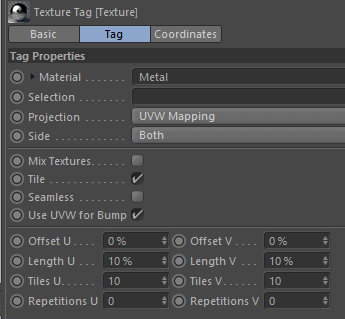
Create a Corona Material, Name it Metal and apply it to the Teapot.obj group.

Metal

Uncheck everything but reflection. Use Anisotropy in 0.2

Use the Scratches.jpg to add some variance to the reflection, apply it both to the reflection and the glossiness. Use the Color profile in Embedded and for the texture applied to the glossiness set the exposure to -.15
Tile 10 times.
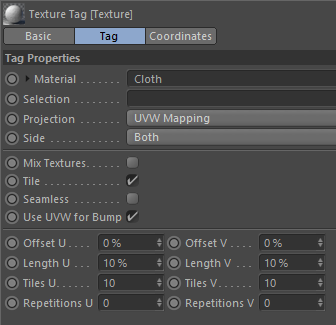
Create a Corona Material, Name it Cloth and apply it to the Cloth.
Cloth


We are using Bump and Displacement to give it that rough look.
Tile 10 times.

Create a Corona Material, Name it Bread and apply it to the PumpkinSeedBread_01.
Bread

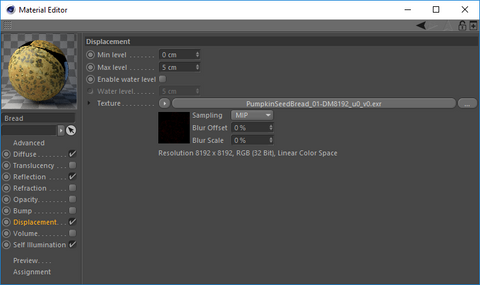
Displacement works so well in corona that there’s no need for additional bump or normal mapping.
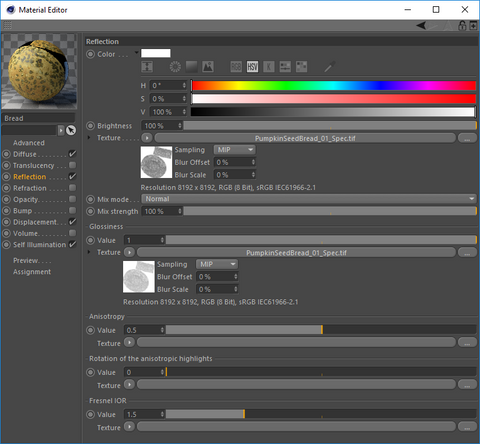
Use the PumpkinSeedBread_01_Spec.tiff to add some variance to the reflection, apply it both to the reflection and the glossiness. Use the Color profile in linear for the Glossiness and Embedded for the Reflection.


The PumpkinSeedBread_01_Spec.tiff comes with the file, but you can create it in Photoshop or other software like this.

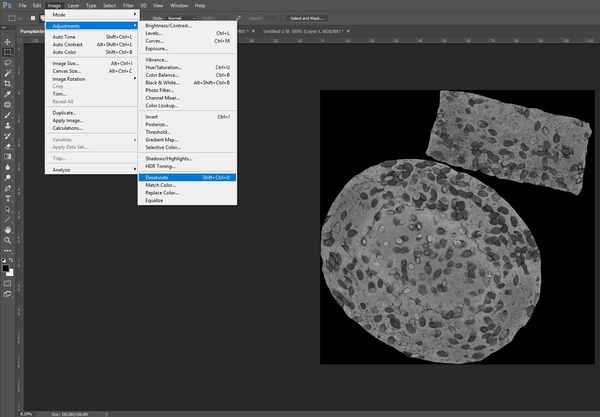

Just Desaturate and Invert.

Now For the Final Image, let’s activate the Depth of field and set our Focus Distance.


FINAL RENDER:

Examples with other Luts.


Leave a Comment